TP-Link_WR841N(CVE-2020-8423)复现
漏洞描述
受影响设备型号:TP-Link TL-WR841N V10
漏洞成因:httpd程序在通过GET请求设置WiFi网络时存在了栈溢出漏洞
环境配置
固件对应的架构为mips32-big,这里使用qemu模拟
binwalk安装(固件提取)
1 | apt install binwalk |
qemu安装
1 | apt-get install qemu qemu-user qemu-user-static |
然后安装mips所需软件包
1 | #big |
安装gdb-multiarch跨平台调试
1 | apt-get install gdb-multiarch |
下载用于模拟的镜像与内核
1 | wget https://people.debian.org/~aurel32/qemu/mips/debian_wheezy_mips_standard.qcow2 |
网络配置等
1 | apt-get install bridge-utils uml-utilities |
上一步启动shell之后就可以执行/usr/bin/httpd,但此时无法成功启动,如图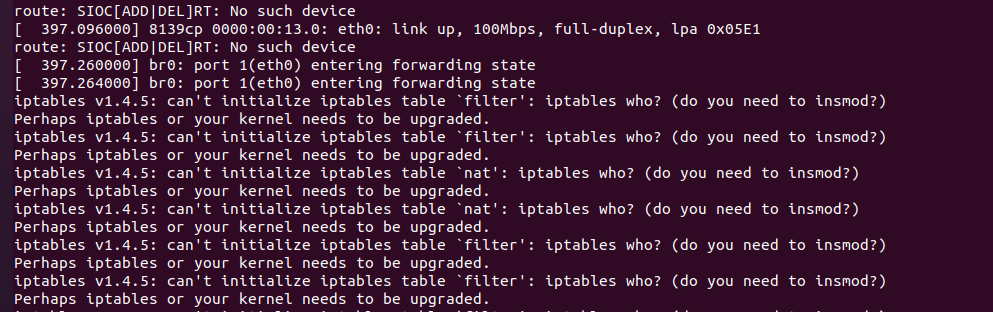
原因是httpd文件中存在阻塞函数,为了保证环境的正常运行,需要hook掉system以及fork
hook.c如下
1 |
|
编译生成hook(本机)
1 | mips-linux-gnu-gcc -shared -fPIC hook.c -o hook |
修改libc链接
1 | cd /lib |
启动
1 | LD_PRELOAD="/hook" /usr/bin/httpd |
如图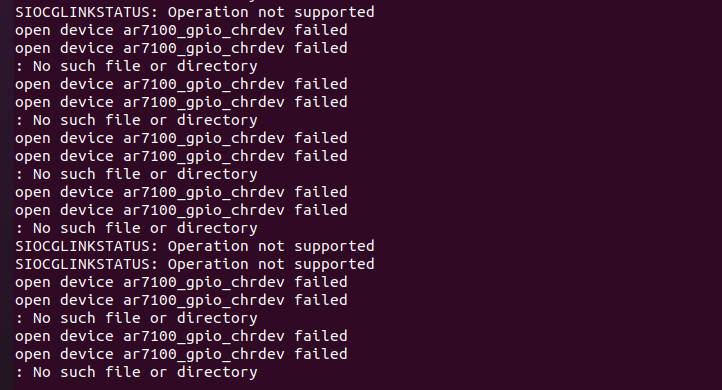
然后将浏览器代理设置为系统代理就可以正常访问了(需要注意tap0是否被设置为192.168.0.2否则firefox无法打开登录界面)
如图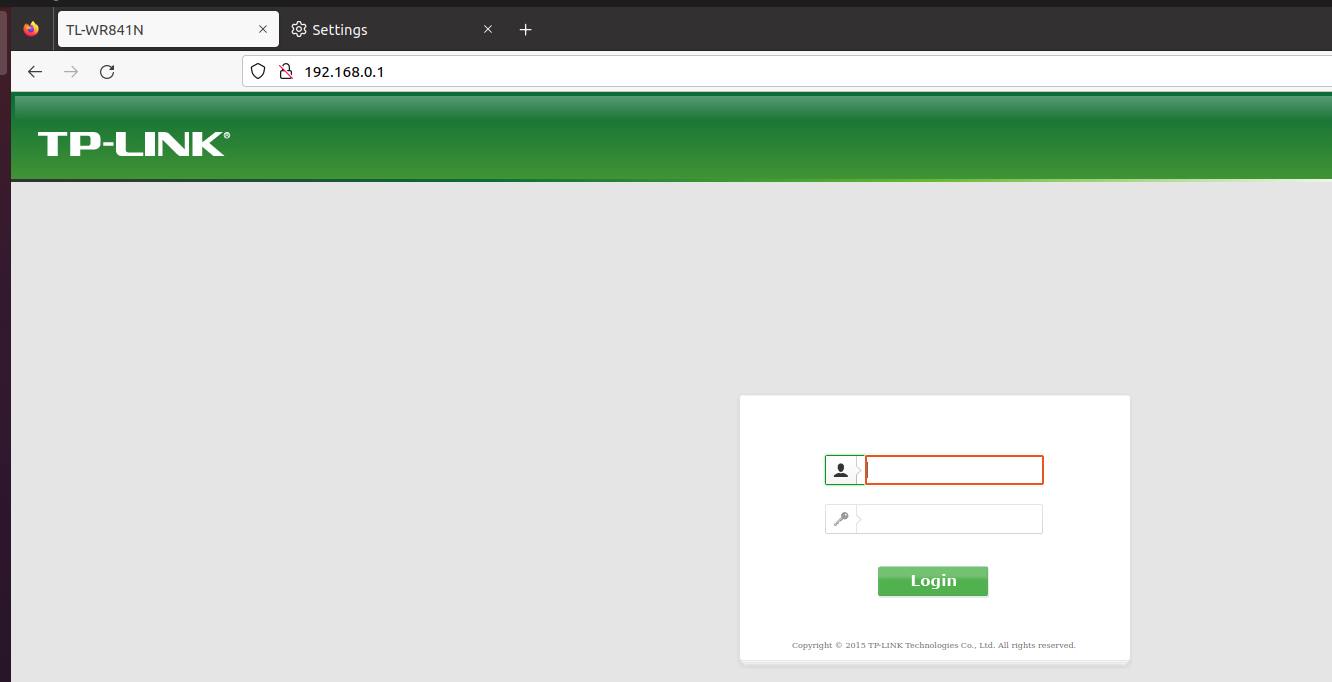
qemu中gdbserver attach httpd
1 | pstree -p |
本地使用remote连接(使用pwndbg/gef可以适配mips,peda没有寄存器等信息)
1 | gdb-multiarch |
漏洞验证及利用
获取登陆的cookie和path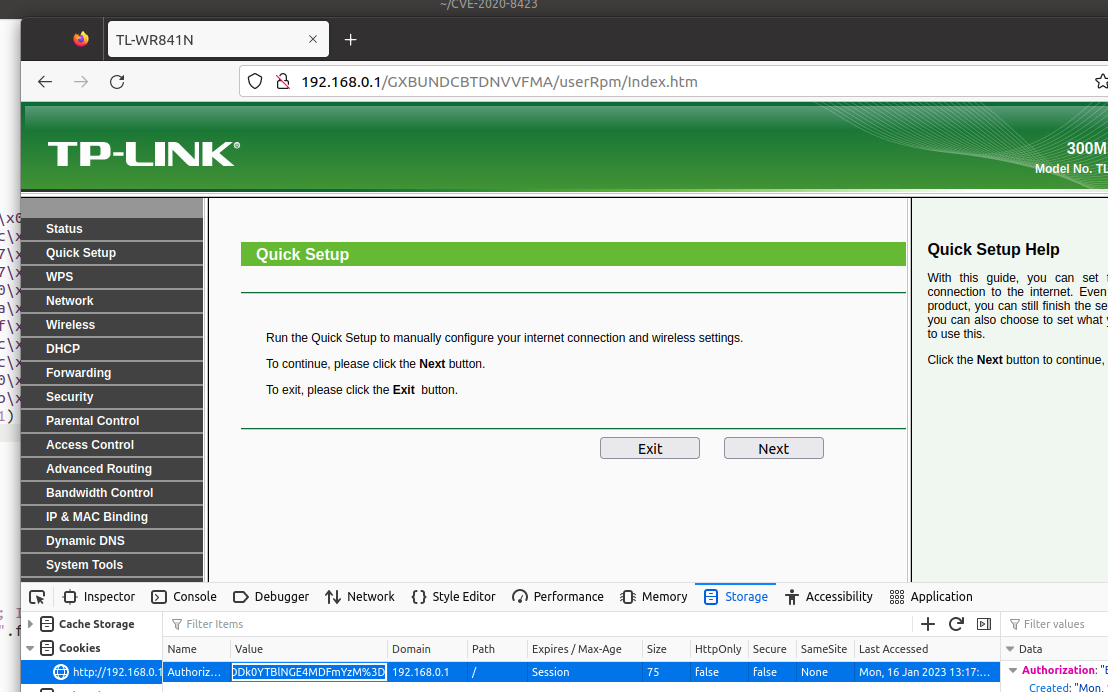
使用poc测试漏洞
1 | #python3 |
如图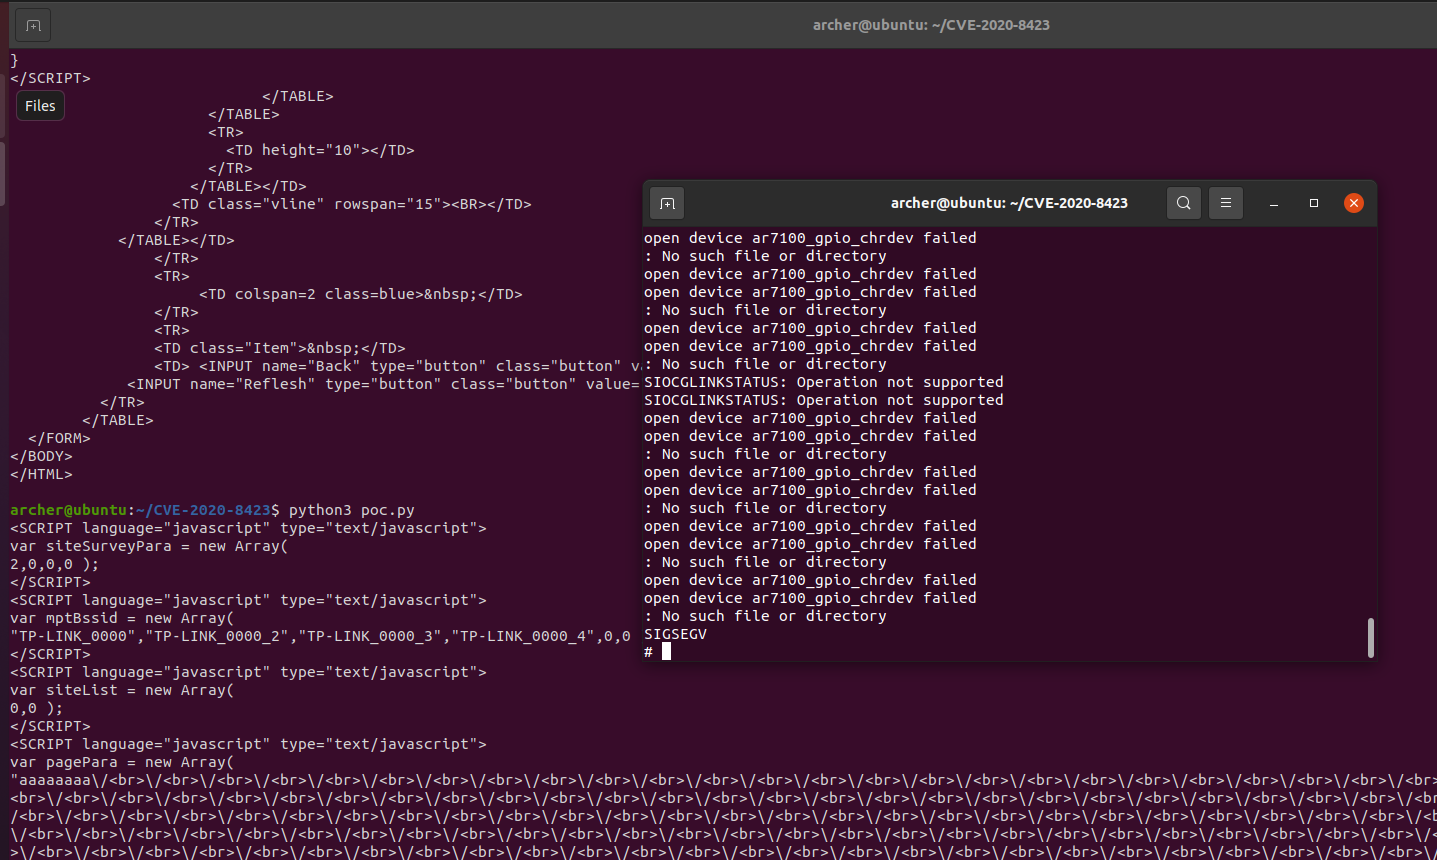
此时程序终止,并且可以看到”%0A”被替换成<br>
关闭虚拟化
1 | sh -c "echo '0' > /proc/sys/kernel/randomize_va_space" |
由于是mips架构,默认不开启NX,可以直接在堆栈上构造shellcode,因为mips
存在cache incoherency需要使用sleep同步指令cache和数据cache
libc_base可以使用cat /proc/${pid}/maps或者vmmap得到
在构造shellcode时,需要绕过stringModify的转义,将含有’<’,’>’,”‘,’//‘,’'的指令替换即可,并且需要注意\x00截断
exp如下
1 | #python2 |
漏洞分析
在前面使用poc测试时,通过pagePara向上分析程序流程,ida中搜索pagePara如图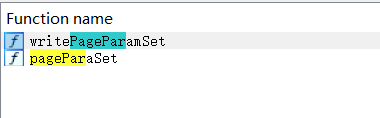
pageParaSet函数为初始化函数,并且其中无法发生溢出,因此来到
writePageParamSet函数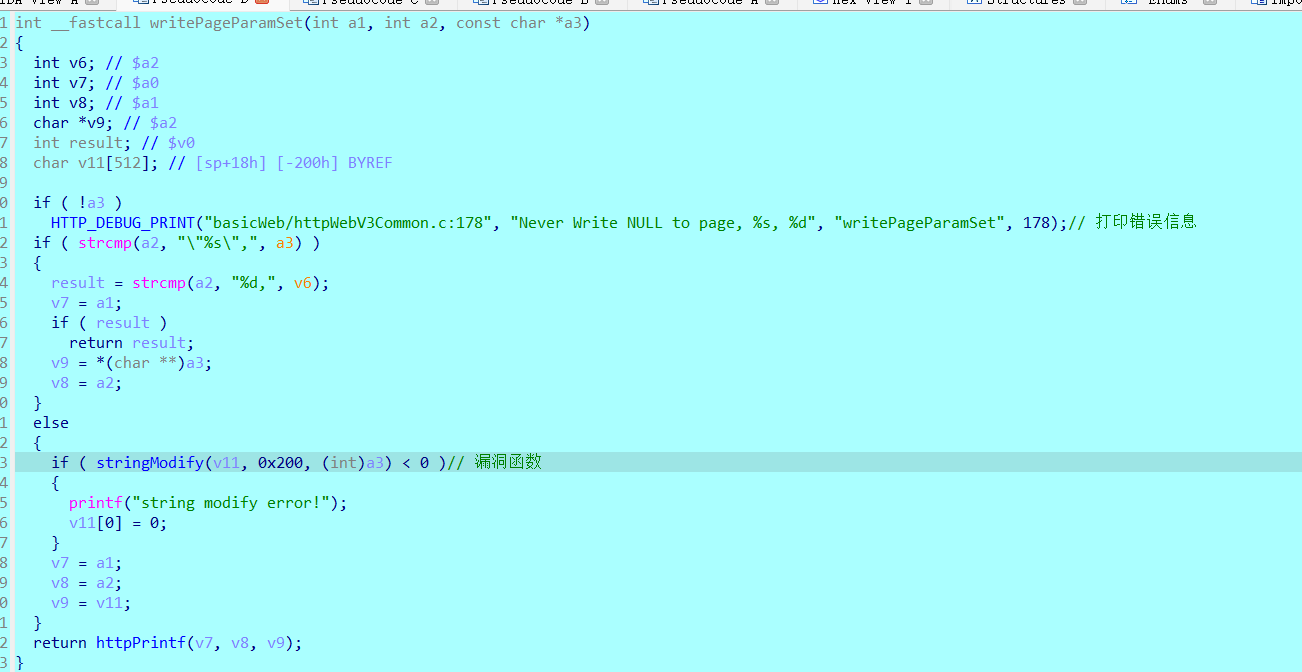
进入stringModify
1 | int __fastcall stringModify(_BYTE *result_char, int max_len, char * init_char) |
stringModify的作用为:
1.对’\‘,’/‘,’<’,’>’,’”‘转义
2.将单独的’\r’和’\n’变为<br>
这个函数的主要漏洞在于将第二个作用,可以栈溢出(result_char最大长度为0x200可以溢出,这里函数为非叶子函数,ra入栈可以劫持),于是继续往上查找调用writePageParamSet的函数(可以通过字符索引等),最后找到sub_455E48,如图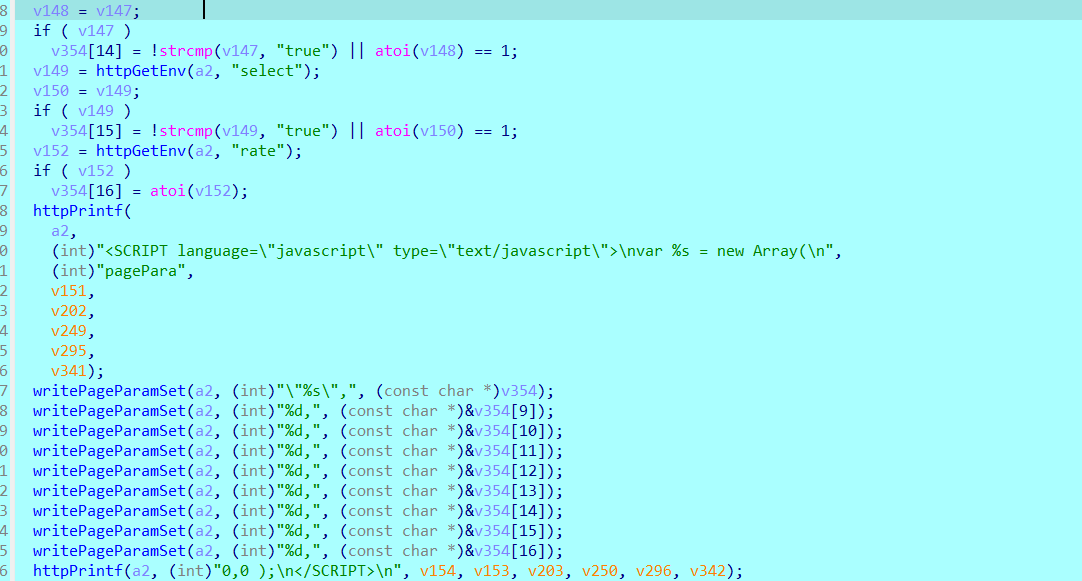
其中v354部分对应的就是ssid,关于ssid的部分逻辑,首先从环境变量中获取ssid然后将ssid传递给v135,并复制到v354,如下
参考文章
https://nvd.nist.gov/vuln/detail/CVE-2020-8423
https://www.anquanke.com/post/id/203486
https://www.mrskye.cn/archives/e77640bd